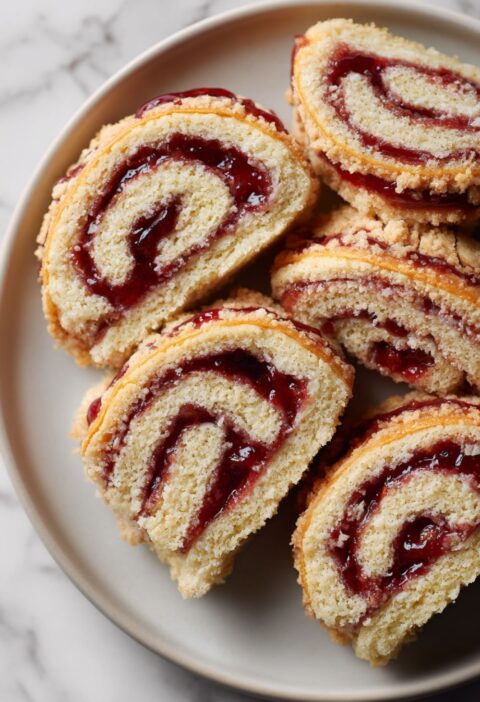
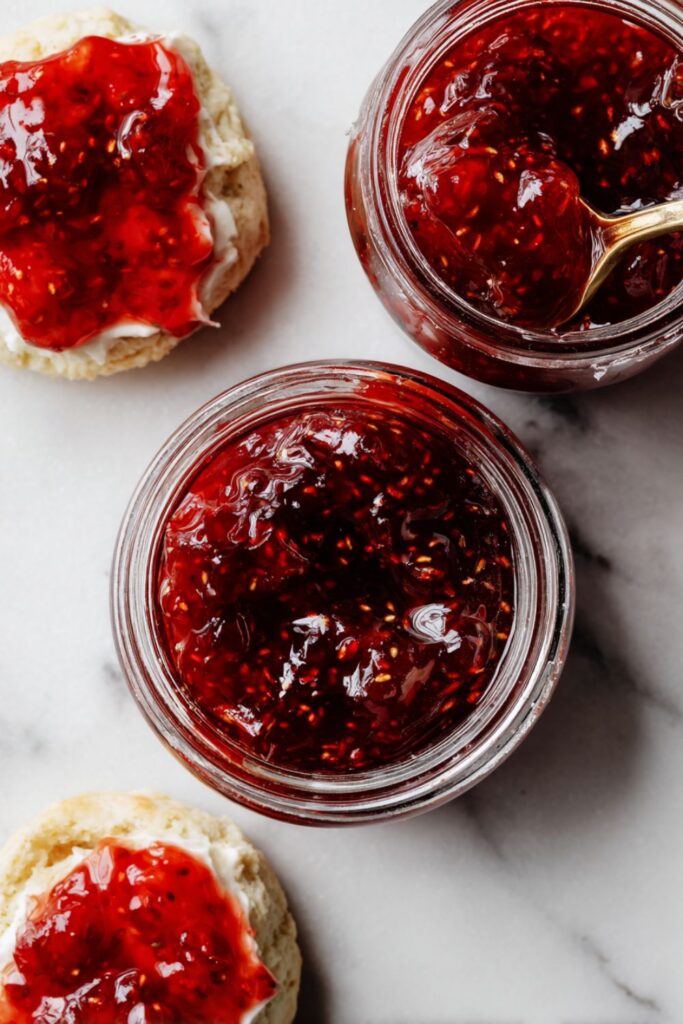
Lush summer strawberries and a splash of bright lemon juice elevate this Mary Berry strawberry jam to a quintessential favorite you’ll always want at the heart of your afternoon tea. It’s delicious with warm scones, buttery toast, a Victoria sponge filling, a dollop of clotted cream; in fact most things.
Mary Berry Strawberry Jam Recipe Ingredients
- 1 kg (2.2 lbs) fresh strawberries, hulled (and halved if large)
- 1 kg (2.2 lbs) jam sugar (sugar with added pectin)
- Juice of 1 large lemon
- A small knob of butter (about 10g)

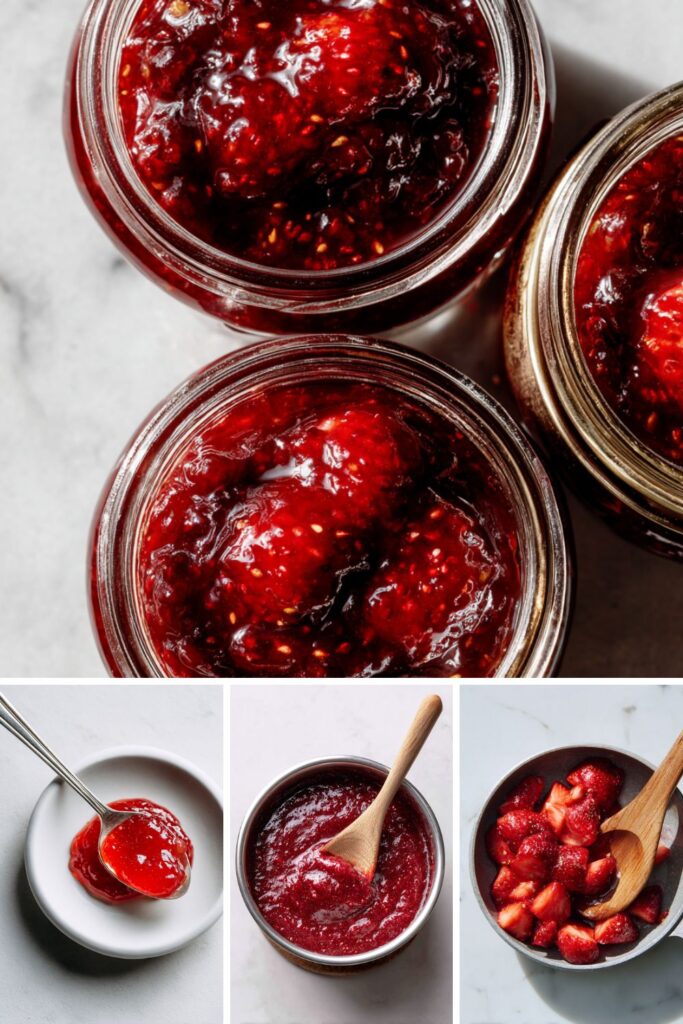
How To Make Mary Berry Strawberry Jam Recipe
- Prepare the jars and saucers: Before you start cooking the fruit, place two or three small saucers in the freezer; these are essential for testing the “set” of your jam later. Sterilize your glass jars by washing them in hot, soapy water, rinsing well, and placing them in a low oven at 140°C (275°F) for at least 15 minutes.
- Soften the strawberries: Place the hulled strawberries into a large, heavy-based preserving pan along with the lemon juice. Cook over a very gentle heat for about 5 to 10 minutes, stirring occasionally with a wooden spoon, until the fruit has softened slightly and the juices have begun to run.
- Dissolve the sugar: Pour the jam sugar into the pan. Stir over a low heat until every single crystal of sugar has completely dissolved. You can check this by running your wooden spoon along the bottom of the pan—if it feels “gritty,” keep stirring on low. Do not allow the mixture to boil until the sugar is fully gone.
- The rapid boil: Once the sugar is dissolved, increase the heat to high. Bring the jam to a full, rolling boil (a boil that cannot be “stirred down”). Boil rapidly for exactly 4 to 5 minutes. Strawberry jam can boil over easily, so stay with the pan and keep an eye on the rising bubbles.
- Perform the wrinkle test: Remove the pan from the heat immediately. Take a cold saucer from the freezer and place a small teaspoon of the jam onto it. Let it sit for a minute, then push the edge of the jam with your finger. If the surface wrinkles up, it is ready. If it is still liquid, return the pan to the heat for another 2 minutes and test again with a fresh saucer.
- Clear the foam: Once the setting point is reached, stir in the knob of butter. This will help disperse any white foam (scum) on the surface, leaving you with a beautifully clear, red jam. Let the jam stand in the pan for 15 minutes to allow the fruit to settle.
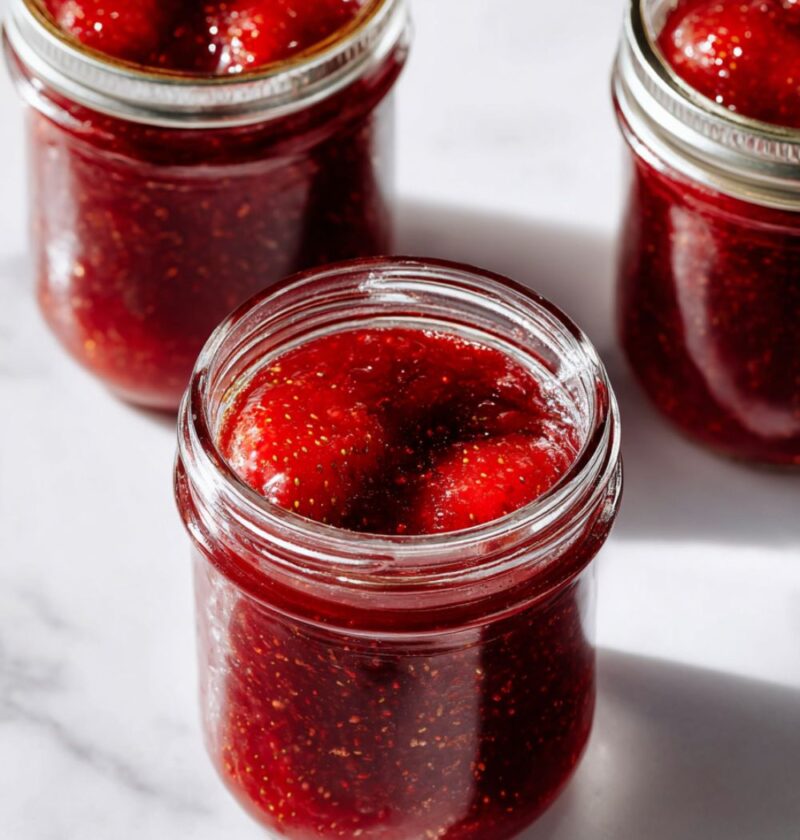
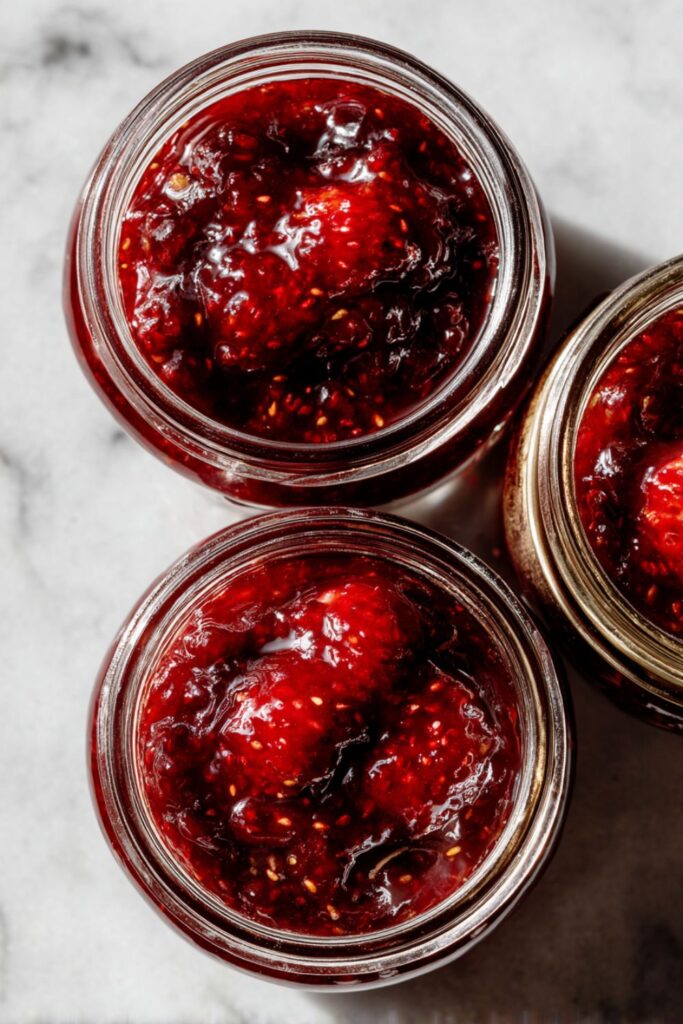
- Jar and seal: Carefully ladle the jam into the warm, sterilized jars, filling them almost to the top. Seal immediately with lids. As the jam cools, the fruit will stay suspended throughout the jar rather than floating to the top.
Recipe Tips
- Why use Jam Sugar: Strawberries are naturally very low in pectin, the agent that causes jam to “set.” Mary Berry recommends jam sugar (which has pectin already mixed in) to ensure your jam doesn’t end up as a runny syrup.
- The Lemon Juice Role: Even with jam sugar, lemon juice is vital. It provides the acidity needed for the pectin to bond properly and adds a sharp brightness that balances the intense sweetness of the sugar.
- The 15-Minute Rest: Don’t skip the rest period before jarring. If you pour the jam into the jars while it’s still piping hot and thin, all the strawberry pieces will float to the top. Waiting 15 minutes allows the jam to thicken just enough to trap the fruit in place.
- Berry Size: If you have very large strawberries, cut them into halves or quarters. Smaller berries can be left whole for a beautiful, rustic texture.
What To Serve With Mary Berry Strawberry Jam Recipe?
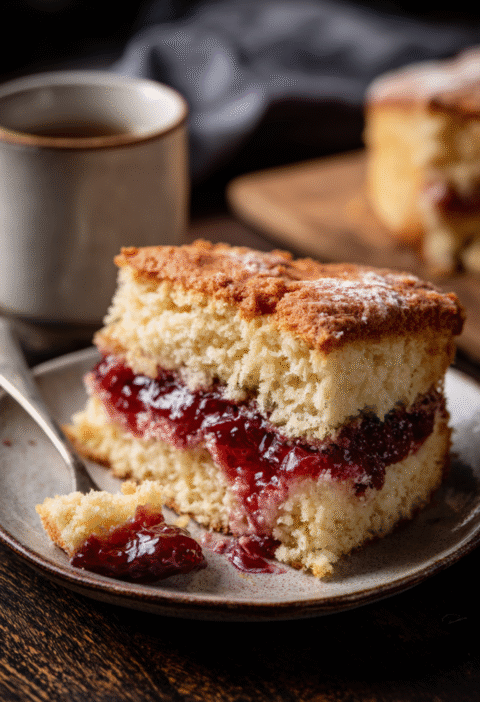
This Mary Berry Strawberry Jam Recipe is a sweet, summery delight that needs a creamy or bready pairing! A batch of Homemade Fruit Scones with thick clotted cream is the classic choice for a traditional tea. For a lighter touch, a swirl in Creamy Greek Yogurt or Vanilla Rice Pudding adds a lovely fruity sweetness! A slice of Victoria Sponge Cake or Toasted Brioche with plenty of salted butter pairs wonderfully with the deep strawberry notes.
How To Store Mary Berry Strawberry Jam Recipe
- Pantry Storage: Store sealed, sterilized jars in a cool, dark place for up to 1 year.
- Refrigerate: Once a jar is opened, it must be stored in the refrigerator. Use a clean spoon every time to prevent spoilage, and consume within 6 weeks.
- Freezing: Jam is a shelf-stable preserve and does not require freezing.
Mary Berry Strawberry Jam Recipe Nutrition Facts
- Calories: 54 kcal (per tablespoon)
- Total Fat: 0 g
- Saturated Fat: 0 g
- Cholesterol: 0 mg
- Sodium: 2 mg
- Total Carbohydrates: 13.5 g
- Protein: 0.1 g
- Fiber: 0.5 g
Nutrition information is estimated and may vary based on ingredients used.
FAQs
You can, but you will need to boil it for much longer and add more lemon juice to get a set. This often results in a darker jam with a “cooked” flavor rather than a fresh strawberry taste. Jam sugar is highly recommended for this specific fruit.
This happens if the jam is over-boiled. Next time, start testing for the “wrinkle” exactly 4 minutes after the rolling boil starts.
This means the jam was poured into the jars while it was still too hot. Letting it sit for 15 minutes in the pan before jarring is the secret to even fruit distribution.
Try More Recipes:
- Mary Berry Strawberry Muffins Recipe
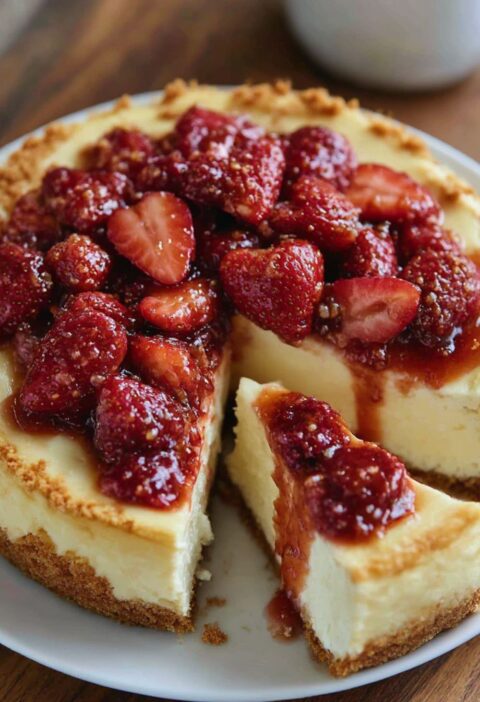
- Mary Berry No-Bake Strawberry Cheesecake Recipe
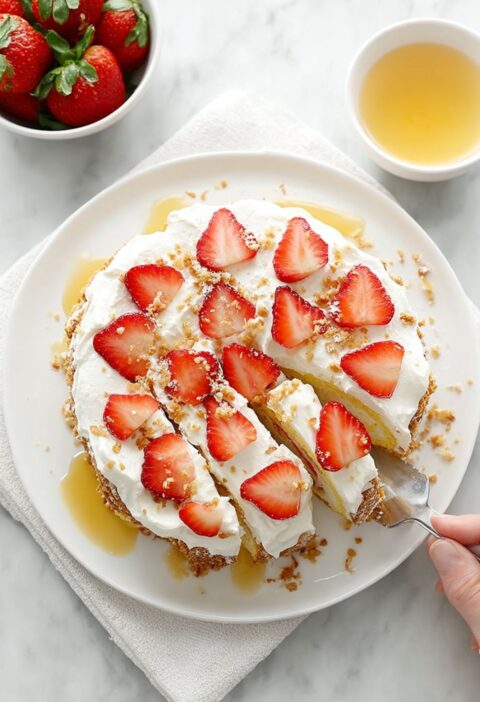
- Mary Berry Strawberry Pavlova (4 eggs) Recipe
Mary Berry Strawberry Jam Recipe
Description
: A foolproof, traditional strawberry jam using jam sugar for a guaranteed set and a bright, fresh summer flavor.
Ingredients
Instructions
- Sterilize jars and place saucers in the freezer.
- Simmer strawberries and lemon juice for 5-10 mins until soft.
- Add sugar and stir on low heat until completely dissolved.
- Bring to a rapid rolling boil for 4-5 minutes.
- Test for set on a cold saucer; look for the “wrinkle.”
- Remove from heat, stir in butter, and let sit for 15 minutes.
- Pour into warm jars and seal immediately.
Notes
- Do not over-boil; you want a bright red color.
- Use a large preserving pan as the mixture rises significantly during the boil.
- Perfect for gifting or for a classic Victoria Sandwich cake.